I’ll be the first to admit running to the internet to get the details on how to do something because I’m still learning myself. However, I become frustrated when I fail time and time again, or it takes me over 4 hours to do a 10 minute thing (such as this task).
Luckily, I’m also the kind of person who is determined to figure something out and more than willing to share the real way to do it – with the important steps! So, without further ado, here’s how to actually make homemade butter.
Get your ingredients together:
- Mason jar with its lid or mixer with bowl*
- Parchment paper or butter container
- Cheese cloth or fine mesh strainer
- Ice
- Water
- Cream*
A NOTE ABOUT THE (*):
Bowl – you can use any type of bowl you want with your mixer. Your mixer can be handheld or a stand mixer.
Cream – you want pure full fat cream. Do not get cream that has anything added to it. The ingredient list should only state cream!
Also, don’t use half & half. It doesn’t contain enough full fat cream.
If you buy milk from a local dairy, let the cream rise to the top and skim it off. You can use cream that isn’t super fresh either. Week old cream will also work. Just try to skim the cream before drinking the milk so you have enough to make butter.
STEP 1: CHILL CREAM & BOWL/JAR
Make sure the cream and bowl are COLD!
There is no need to freeze and thaw anything. If the cream and bowl get too warm, you’ll end up with something like whipped butter that has separated from the water, and it’ll never do anything else.
If this happens, add ice cubes to the mixture or put it in the fridge to get cold again!
STEP 2: MIX OR SHAKE
Pour the cold cream into the cold container you’ll be using to make the butter. You don’t want to fill your container over 1/2 to 3/4 full.
MIXER – Set the speed to medium and be sure to use a guard, cheese cloth, or towel to reduce splattering.
SHAKE – Secure the lid tightly to the jar. Use your hands to shake the jar. It doesn’t have to be really fast or rough. Just enough to really slosh the cream around.
STEP 3: WATCH FOR SEPARATION
The only thing you should be concerned with is the separation. Ignore the “peaks” that may form. You’ll be mixing past that for butter.
You’ll stop mixing when you see a milky liquid separated from the globs. The globs can be any size. That’s the milk fat that will be your butter. You want the consistency that does not stick to your utensil much when touched!
STEP 4: DRAIN WHEY/BUTTERMILK
The whey (buttermilk) is the thin milky liquid that is separated from the milk fat. You can either discard it or save it to use in a few days.
DO NOT WORRY ABOUT THE COLOR. Color is determined by many variables leading up to the cow’s production of milk.
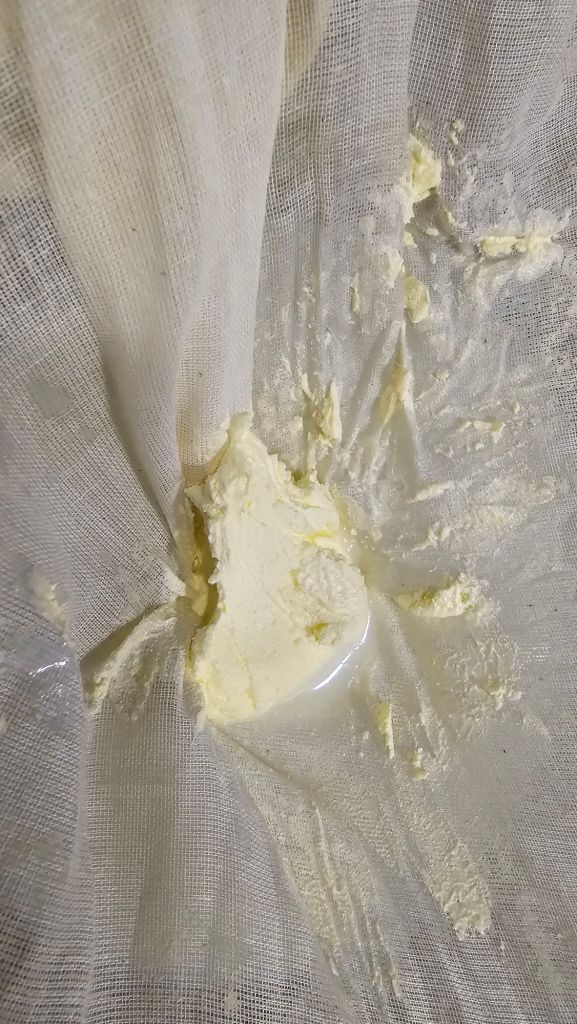
STEP 5: SQUEEZE OUT LIQUID FROM MILK FAT
Squeeze out the remaining liquid from the milk fat by using the cheese cloth or fine mesh strainer.
TIP: It may be wise to chill the milk fat glob more before this step. Homemade butter can be softer and melt quicker than store bought butter. The firmer the milk fat, the easier it is to remove the excess liquid.
STEP 6: ADD-IN FLAVOR (OPTIONAL)
If you want to mix in herbs, salt, etc. to the butter, you’ll want to do so in a separate bowl now.
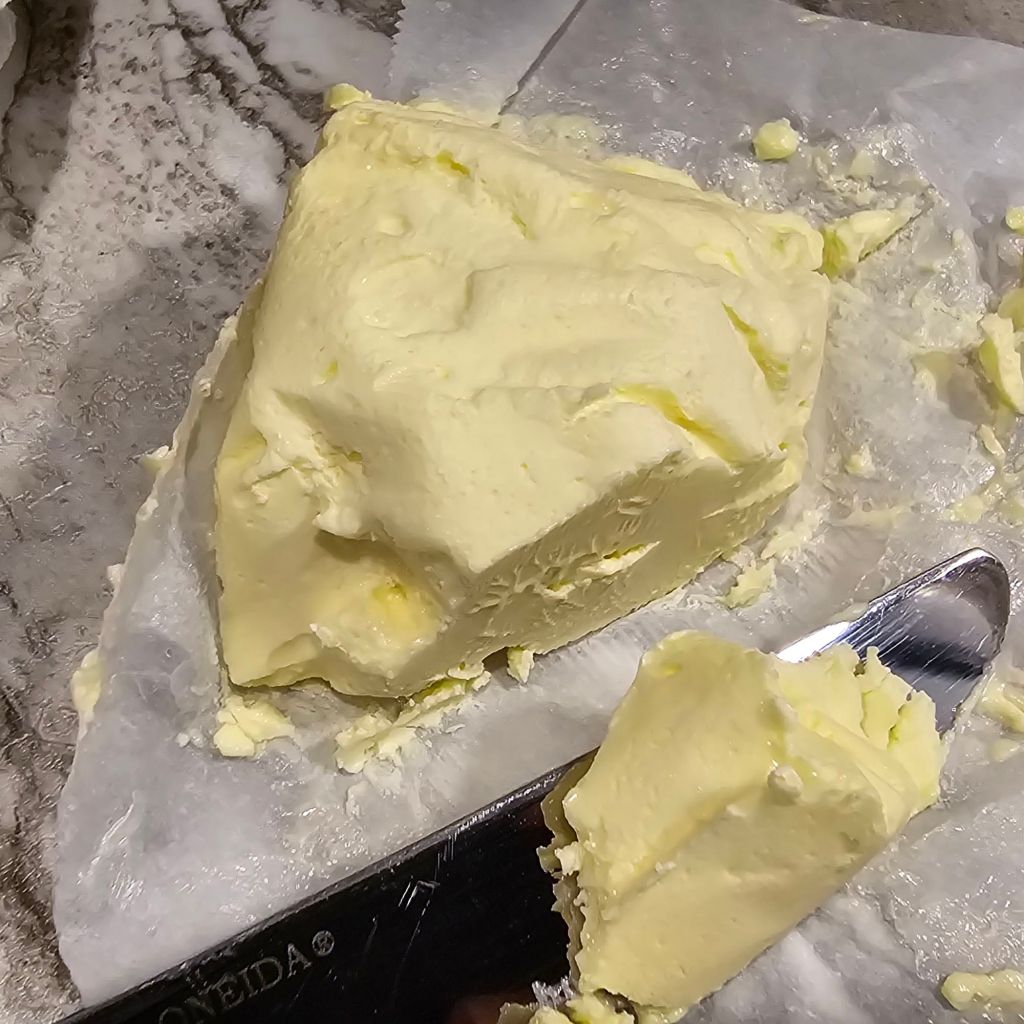
STEP 7: MOVE BUTTER TO ITS HOME
Now, you can wrap your butter in parchment paper or add it to your butter container before placing it in the refrigerator or a place where it will stay cool and dry.
CONGRATULATIONS! YOU MADE BUTTER!
Making homemade butter is pretty forgiving. A simple 10 minute-ish job took me 4 hours to figure out. I started in a mason jar and finished with a kitchenaid stand mixer.
I added more milk with cream (I used raw from a local dairy), added warm water, ice water, put it into the refrigerator, added warm paper towels to the side of the mixer bowl, and other tricks I saw online.
I tried all of this because I had something that looked like whipped cream and tasted like butter floating in a milky liquid. It wouldn’t progress further. I knew there was separation, but… there was still something wrong.
The only thing that worked was chilling the mixure. Voilà! I had butter.